Sous Vide and Grill Finish: The Hybrid Steak Method
Get reliable results with this hybrid approach, plus tips on cuts, timing, searing, and handling disagreements in technique.
Affiliate disclosure: This post contains affiliate links. We may earn a small commission from qualifying purchases at no extra cost to you. See our editorial standards for how we research and select recommendations.
Why This Works
Combining the sous vide cooking method with a final sear on a grill allows for precise control over the internal doneness of a steak while still achieving the desirable char and smoky flavor from a hot fire. The sous vide process, utilizing a water bath, maintains a consistent temperature, preventing overcooking within the steak and eliminating the often-present gray band of overcooked edges that typically forms during traditional grilling. This technique also offers convenience, as steaks can be prepared up to 24 hours in advance, chilled, and then seared just before serving.
Cuts and Thickness
Thicker cuts of steak, ranging from 1.5 to 2.5 inches in thickness, work best. This thickness provides some leeway during the high-heat searing stage. Steaks thinner than 1 inch are generally better suited for direct, high-heat grilling. While ribeye is frequently recommended due to its ability to render fat and maintain tenderness, other options such as New York Strip, Filet Mignon, T-Bone, and Porterhouse are also suitable. Bone-in cuts like tomahawks can be used, though the bone’s slow heat conduction may result in slight temperature variations.
Temperature and Time
For medium-rare doneness, the water bath should be set between 125°F and 135°F, with 129°F or 130°F being common targets, and cooked for 1 to 4 hours. A 1.5-inch steak typically requires 1.5 to 2 hours, while a 2-inch cut takes 2 to 3 hours. Prolonged cooking, exceeding 4 hours at 129°F, can break down the proteins and lead to a mushy texture. Lower temperatures allow for extended cooking times without this issue. Temperatures and times vary for other levels of doneness: medium (135°F to 144°F for 1 to 4 hours), rare (120°F to 125°F for 1 to 2.5 hours), medium-well (145°F to 150°F for 1 to 3.5 hours), and well-done (160°F or higher for 1 to 3 hours). Even thinner 1-inch steaks will reach their target temperature in approximately 40 minutes to an hour. It’s important to note that searing increases the internal temperature by roughly 3°F to 5°F, so a steak removed from the water bath at 129°F may ultimately reach a temperature of around 133°F.
Cooking from Frozen
Steaks can be cooked directly from frozen without thawing. In this case, adjustments to the cooking time are necessary; some sources suggest adding 30 minutes to the minimum cook time, while others recommend adding a full hour.
Prep and Seasoning
Seasoning the steak with salt before sealing it in a bag is crucial, as the salt penetrates the meat deeply during the long cooking process. Approximately 1 teaspoon of kosher salt per pound is recommended. Herbs like rosemary, thyme, or tarragon, along with a few garlic cloves, can be added, but moderation is key to avoid overwhelming the flavor. Adding oil to the bag is not recommended as it does not penetrate the meat and only dilutes the liquid. A vacuum sealer or the water displacement method (partially sealing the bag, submerging it to push out air, and then resealing) should be used to ensure a sealed bag that remains fully submerged.
The Grill Finish
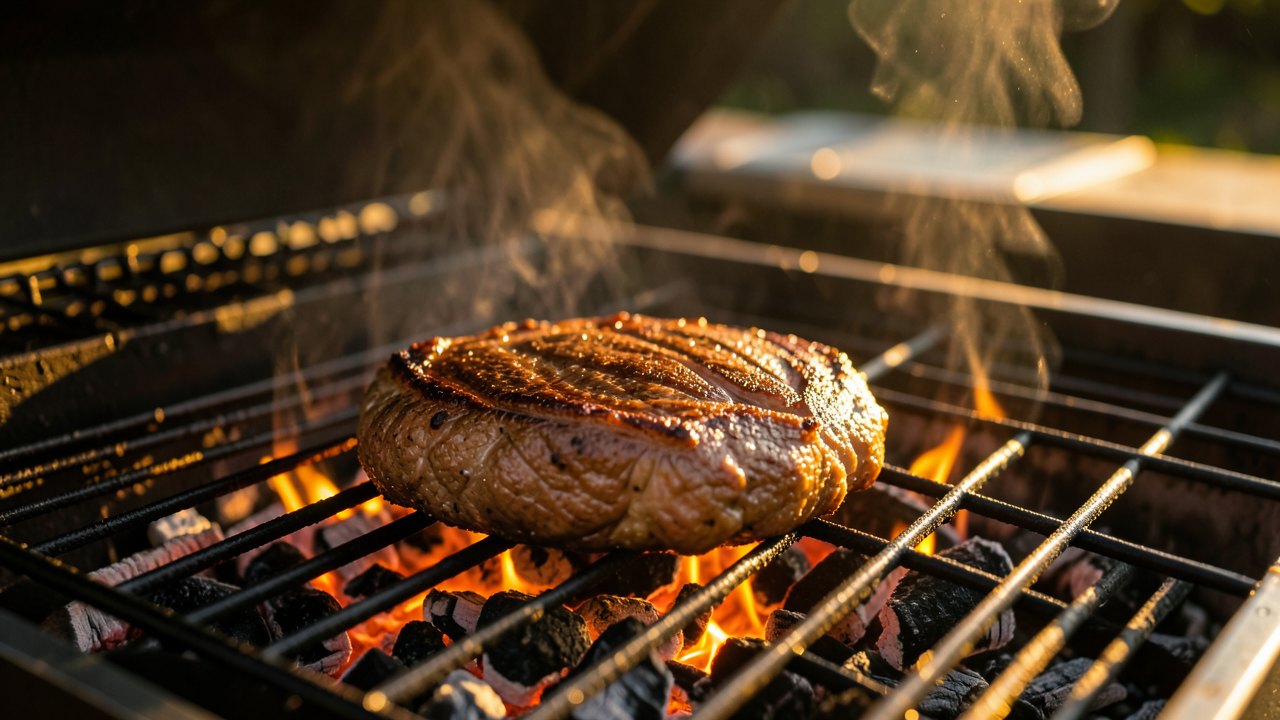
The next step involves creating a flavorful crust. After removing the steak from the bag, it must be thoroughly dried with paper towels, as moisture will cause steaming instead of searing. The grill should be heated to a high temperature, ideally 500°F to 600°F or higher. For gas grills, burners should be set to high and the lid closed for at least 15 minutes. For charcoal grills, a chimney starter should be used to create a concentrated pile of coals. A full chimney starter poured in one tight pile gives the hottest zone for the short sear this method needs. The grill grates should be thoroughly cleaned. Whether or not to lightly oil the grates is a matter of preference, as oiling can prevent flare-ups. The steak should then be brushed with a high smoke-point oil, such as avocado or refined peanut oil. Avoid olive oil or butter, which burn quickly. Lid management during the sear also varies; some prefer to keep the lid closed to preheat, while others leave it open to maximize radiant heat. The searing process itself should last for 30 to 90 seconds per side, with a single flip and a 60 to 90 second period left undisturbed to allow the Maillard reaction to occur. Rotating the steak 45 degrees halfway through the sear can create attractive crosshatch marks.
Resting and Serving
Due to the protein relaxation that occurs during the sous vide process, a long resting period is typically unnecessary. Some advocate for immediate serving, while others suggest a brief rest of 2 to 3 minutes to cool the exterior, or up to 5 minutes for a cooler steak. Prior to searing, different techniques for cooling can be employed: refrigeration for 10 minutes, resting on a rack for 5 minutes to dry the surface, or cooling in the sealed bag on the counter for 10 to 15 minutes.
Troubleshooting and Tips
If the steak's interior appears gray, the water bath temperature was likely too high; a separate thermometer should be used to confirm the temperature. A mushy texture indicates overcooking at a higher temperature. A pale crust often results from a wet steak surface or a grill that was not sufficiently heated; ensure thorough drying and longer preheating. If the edges become overcooked, the searing time was too long; limit the sear to a maximum of 90 seconds. Sticking often occurs due to dirty grates or low heat. For enhanced flavor, consider basting with butter and herbs during a skillet sear, dusting with cornstarch before searing to promote browning, or briefly smoking the steak after the sous vide process at 180°F for 20 minutes before the final sear. An alternative is to smoke a chilled steak at under 200°F until the internal temperature reaches 115°F, then sear. When preparing multiple steaks, start with the steak requiring the highest temperature and then lower the water bath temperature for the rarer cuts.
Equipment
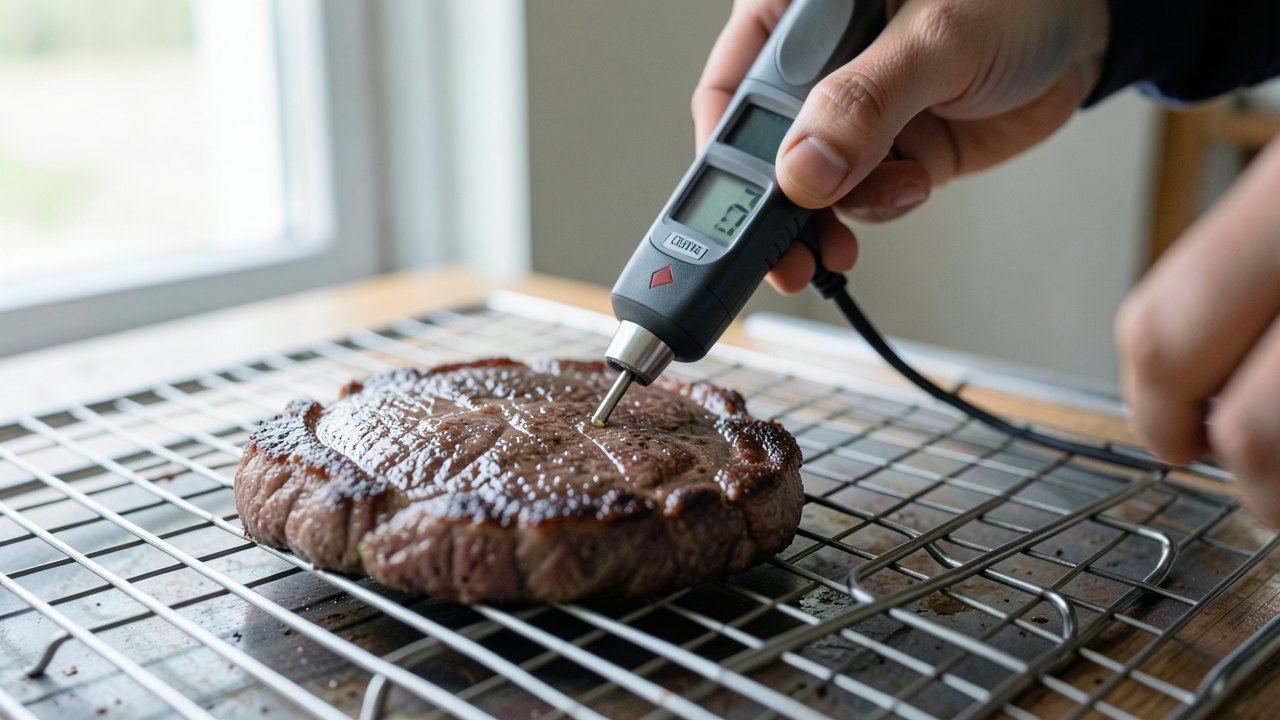
To execute this method, you will require an immersion circulator or precision cooker, as well as a stockpot or insulated container with a lid to minimize evaporation. An instant-read thermometer is helpful for verifying water temperature and checking the steak's internal temperature after searing, while an infrared thermometer can be used to identify hot spots on the grill grates.