How to Build a Consistent Crust on Grilled Proteins
Moisture is the enemy, and heat management is everything. Here's how to get a solid crust every time, including where the experts disagree on the details.
Affiliate disclosure: This post contains affiliate links. We may earn a small commission from qualifying purchases at no extra cost to you. See our editorial standards for how we research and select recommendations.
The Science of a Good Crust
Achieving a perfect crust on meat involves the Maillard reaction, a chemical process that occurs when amino acids and sugars interact at temperatures above 285°F. This reaction produces over 600 flavor compounds and the characteristic deep brown color. It happens only on the surface, where the temperature is highest. If the surface is wet, the temperature will not rise, leading to steam rather than a crust. The ideal outcome is a crispy exterior with complex, savory flavors, a tender interior, and even browning without bitterness.
Browning also creates fond, the browned bits in the pan, which serve as a foundation for making sauces. These bits should not be washed away.
Prep Work: Dry, Temper, and Salt
To remove moisture, which is the main obstacle to achieving a good crust, pat the protein dry with paper towels. For scallops, aggressive drying is necessary, sometimes requiring them to sit uncovered in the refrigerator for an hour. If you salt in advance, moisture will accumulate on the surface, necessitating another round of drying before cooking.
Tempering meat to room temperature before cooking ensures even cooking and makes it easier to achieve a crust without overcooking the exterior. The recommended time varies based on the thickness of the cut. Some sources suggest 15 to 20 minutes, others recommend 30 to 45 minutes, and some advise 30 to 60 minutes, noting that thicker cuts (1¼ to 1½ inch) may require up to an hour. Adjust the time based on the thickness of the cut.
When it comes to salting, strategies differ. Some sources recommend salting thick cuts generously 30 to 60 minutes in advance to allow salt to penetrate and the surface to dry, followed by a final pat-down. Others suggest a light, even coating just before cooking. Both methods are effective; the advance salting gives the salt more time to work and helps dry the surface, while the immediate salting is simpler. If using very high heat, it’s advisable to add pepper after cooking to prevent it from burning.
For the meat to cook properly, it must lie flat with no air pockets. Gentle pressing may be necessary for thick cuts to ensure full contact with the heat source.
Equipment, Heat, and Fat
The choice of cookware is crucial. Heavy-bottomed pans are ideal for retaining heat. Cast iron and heavy stainless steel are the best options. Non-stick pans typically cannot reach the high temperatures necessary for a proper crust.
Pans should be preheated over medium-high to high heat for 3 to 4 minutes until water sizzles and evaporates immediately and the surface shimmers or smokes lightly. On a grill, aim for temperatures between 480°F and 570°F or higher for immediate crust formation. You can test the grill’s heat by holding your hand 4 inches above the grates; if you have to pull away after 2 to 3 seconds, the heat is in the right range. For a number instead of a count, an infrared thermometer like the ThermoWorks Industrial IR Gun reads the grate surface from a distance.
Choose oils with high smoke points, such as avocado, grapeseed, sunflower, or vegetable oil. Use only a minimal amount—a thin coating or 1 to 2 tablespoons is sufficient. Excessive oil can hinder crust formation. Butter burns quickly at high heat, so it's best to use it for basting or adding flavor at the end. Clarified butter, with its higher smoke point, can also be used for searing if preferred.
Execution and Movement
Place the protein away from your body to avoid splatter. Pieces should be spaced at least 1 inch apart to prevent overcrowding, which traps steam. For a general rule, flip the protein only once and leave it until it releases naturally from the surface. If it sticks, the crust isn't ready yet; wait 30 to 60 seconds longer if needed.
There is an exception for thick cuts, known as the cold sear method. Here, the steak starts in a cold pan and is flipped every 1 to 2 minutes as the heat increases. This helps the fat render gradually and is suitable for thicker proteins.
Basting is optional. In the final minutes, you can add butter and herbs, tilt the pan, and spoon the foaming fat over the protein for extra richness.
Grilling and Thick Cuts
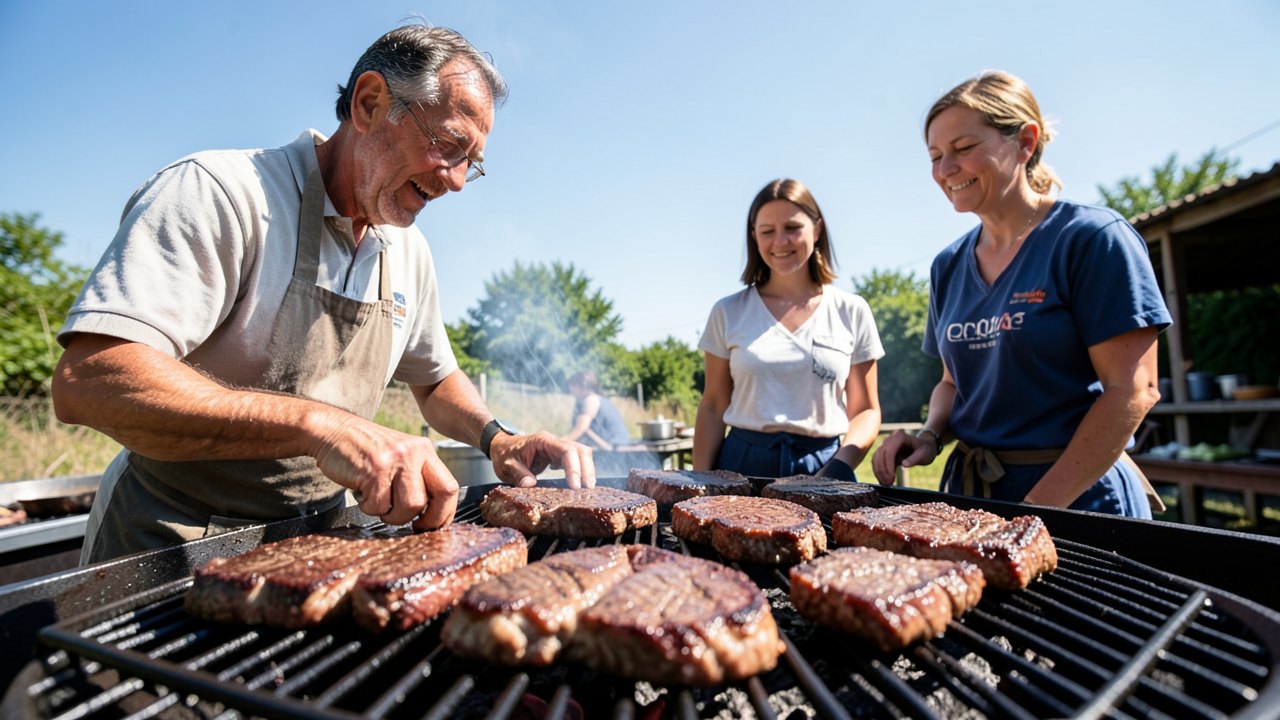
On a grill, use a two-zone setup. Sear over direct high heat to form the crust, then move the protein to indirect heat to finish cooking without burning the exterior. Monitor flare-ups from rendering fat and adjust placement as needed. Charcoal grills can provide intense heat above 570°F and add smokiness that enhances crust complexity.
For steaks thicker than 1.5 inches, methods vary. Some recommend searing first and then finishing in a 400°F oven, while others suggest reverse searing: cooking the cut in a low oven at 120°F to 140°F until just below the target temperature, then searing quickly at the end. Reverse searing offers more control over the final result, while searing first gives you that crust early on.
Temperature, Resting, and Troubleshooting
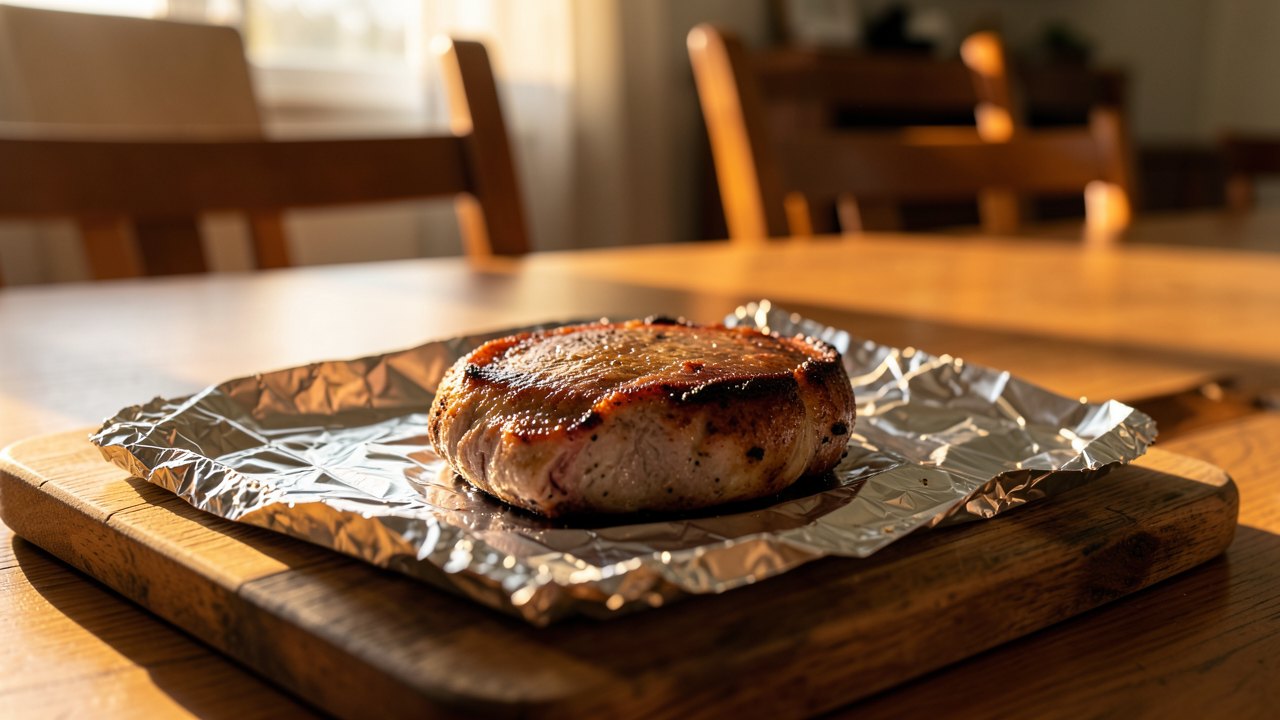
Internal temperatures vary by protein type: chicken should reach 165°F, pork should reach 145°F, and steak targets depend on preference (125°F for rare, 135°F for medium-rare). Remove the protein about 5°F below your target; the internal temperature will continue to rise during rest. Resting is crucial for redistributing juices. Let the meat rest for 5 minutes up to 5 to 10 minutes under foil. The temperature may rise another 3 to 5°F during this time.
Common Fixes: - Sticking: The pan is not hot enough or the protein was flipped too early. Wait for natural release. - Smoke: The heat is too high or the oil has a low smoke point. Lower the heat, switch oils, or check ventilation. - Burnt Outside/Raw Inside: The heat is too intense. Lower to medium-high or use oven-finishing techniques. - Grey or Steamed Meat: The surface was wet, the heat was insufficient, or the pan was crowded. Dry thoroughly, preheat longer, and space the protein. - Bitter Taste: Often from sugar-based marinades or excessive charring. If using sugar marinades, limit exposure to 30 minutes maximum and dry aggressively. - Dry or Tough Meat: Overcooking. Use a thermometer and account for carryover cooking. - Uneven Browning: Flipping too often or moving the protein prematurely. Leave it alone until it releases naturally.
References