Flat-Top Smash Burger: Heat, Technique, and Troubleshooting
Get the griddle hot, use loose balls of 80/20 beef, and smash fast for maximum crust. Learn how to season, flip, melt cheese, and avoid the pitfalls that lead to dry burgers.
Affiliate disclosure: This post contains affiliate links. We may earn a small commission from qualifying purchases at no extra cost to you. See our editorial standards for how we research and select recommendations.
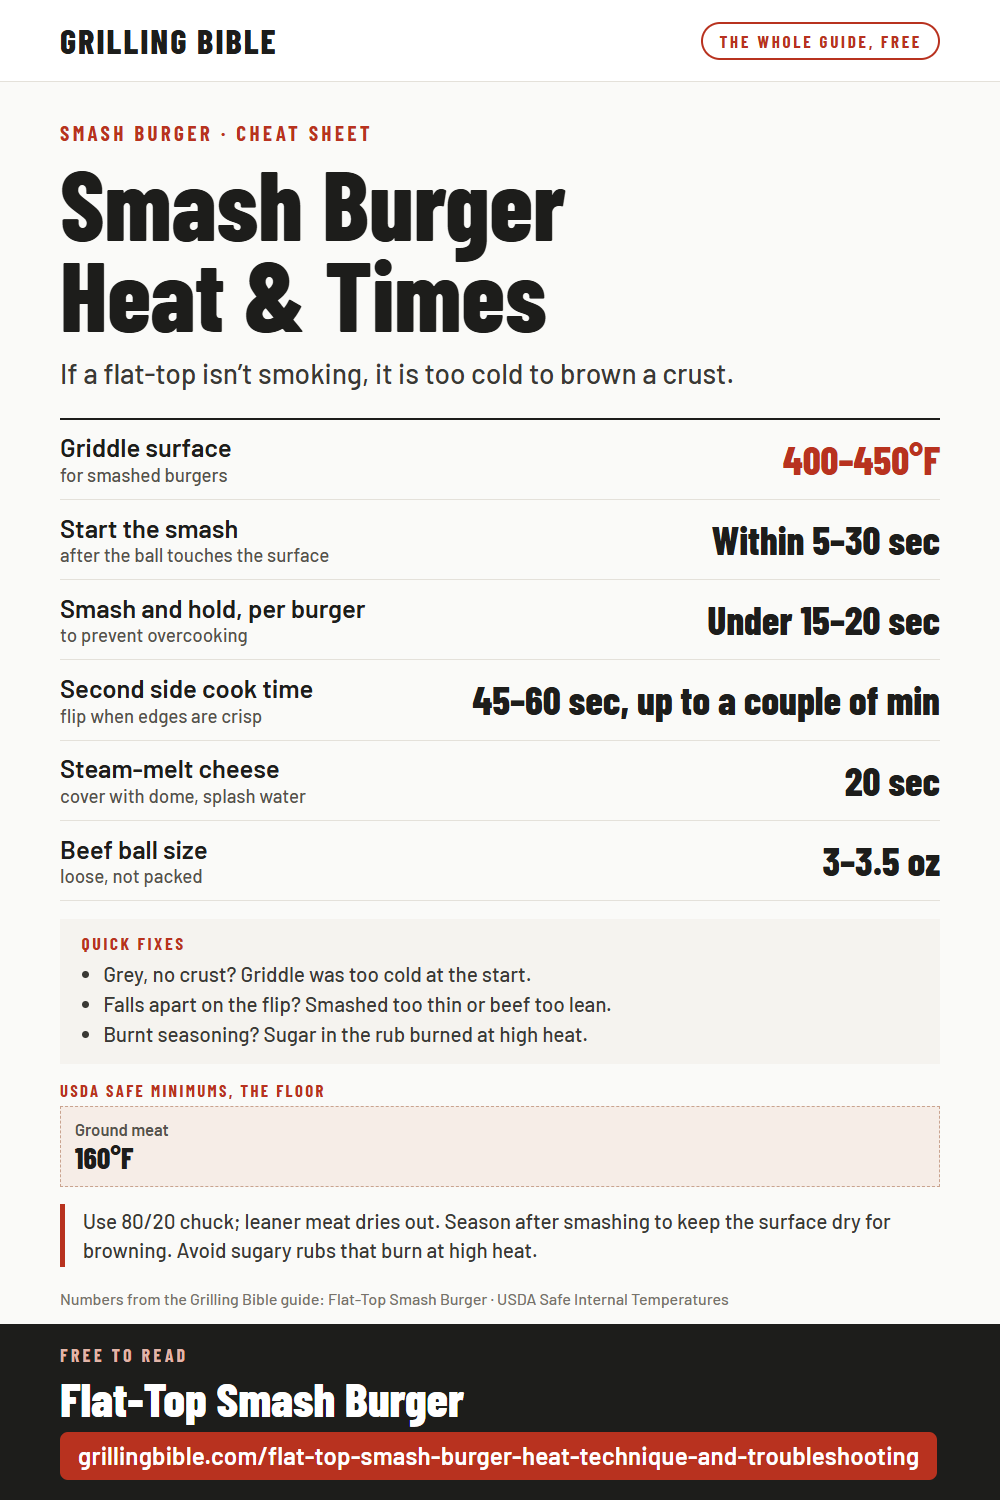
The cheat sheet
The key numbers from this guide on one page. The whole sheet is right here: print it or keep the image, free, no email needed.

Heat and Surface Setup
To achieve the best results when making smashed burgers, aim for a surface temperature of 400–450°F. An infrared thermometer like the ThermoWorks Industrial IR Gun reads the griddle surface from a distance, so you know it is in that range before the first ball goes down. Smoke signals that the fat is hitting a hot enough surface to properly fry, a crucial step in achieving a good crust. If there’s no smoke, the temperature is too low, which can result in a grey, dry burger rather than a well-seared one. The Maillard reaction, which is vital for flavor, requires high heat and direct dry contact. The center of the griddle tends to be the hottest, making it ideal for placing burgers there for the best crust development.
Preheating methods vary. Some suggest gradually building heat on a low setting, while others recommend starting at medium-high or high. Regardless of the method chosen, it’s important to use a solid, heavy surface for grilling, as grill grates won’t work well because there’s nothing to smash against and fat will drip away.
Beef Selection and Prep
Using 80/20 ground chuck is ideal due to its fat content, which is crucial for preventing dry burgers. Leaner meat tends to produce dry results. The fat in the meat fries the patty against the surface, adds flavor, and prevents the patty from drying out before the crust forms. Form the beef into loose balls just before cooking, avoiding packing the meat tightly or shaping it into neat pucks. Loose balls will spread into patties with ragged, open edges that become the crispest part. Keep the beef cold until it hits the griddle to maintain its integrity during the smash and delay interior overcooking while the surface browns.
The ideal size for the beef balls can range from 3 to 3.5 ounces, approximately the size of a golf ball, or slightly larger, like an orange. Guidelines also vary depending on the type of patty, from 2 ounces for sliders to 4 ounces for single patties.
The Smash
Smash the ball within 5 to 30 seconds of it touching the surface. After 30 seconds, the patty will not spread evenly. Press hard and straight down, holding for about 10 seconds. Aim for a thickness of roughly a quarter-inch with ragged edges intact. The texture of the grind should be visible, but the patty shouldn't be transparent or tear on the flip. Avoid pressing the burger repeatedly after the initial smash, as this squeezes out rendered fat and juices, resulting in a dry, tough burger. The total smashing and holding process should stay under 15 to 20 seconds per burger to prevent overcooking.
Seasoning
Season the burger after smashing to keep the surface dry for the Maillard reaction, ensuring the seasoning sits on the crust. Use salt and pepper, or add garlic powder and savory blends. Avoid sugary rubs that can burn at 450°F. Once you flip the burger, season the second side for even distribution.
Flipping, Cheese, and Stacking
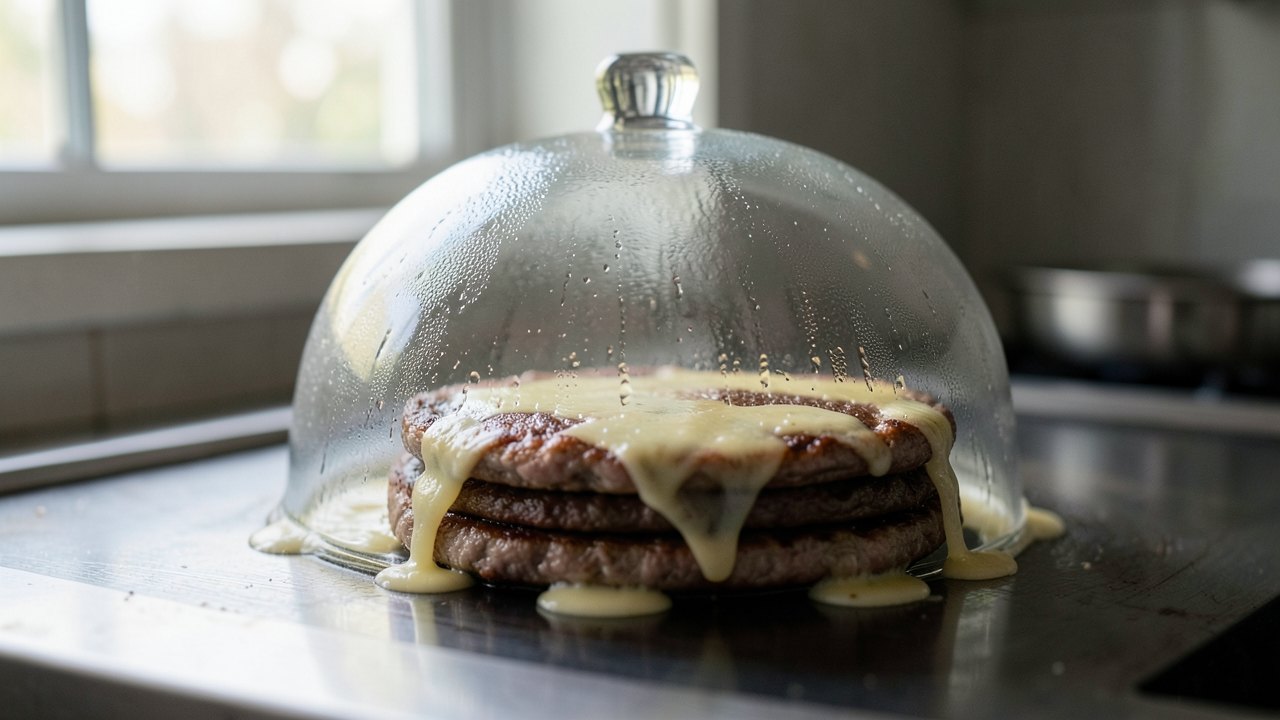
Flip the burger when the edges are deeply browned, lacy, and crisp, or when the burger is halfway cooked with pink remaining on top. Use a stiff, thin metal turner; flexible spatulas tend to ride over the crust and leave it behind. The second side cooks quickly. Recommendations range from 45 to 60 seconds up to a couple of minutes. Overcooking the second side is the most common error that dries out the burger. The USDA minimum safe internal temperature for ground beef is 160°F (71°C), and the entire patty must reach it. Add cheese immediately after flipping to utilize residual heat. American cheese melts best into a sauce without breaking into oil; for more flavor, layer it with sharp cheddar. To steam-melt the cheese without overcooking the beef, add a splash of water to the griddle and cover with a basting dome for 20 seconds. Stacking two thin patties doubles the amount of crust and allows you to place cheese in the middle layer.
Tools and Techniques
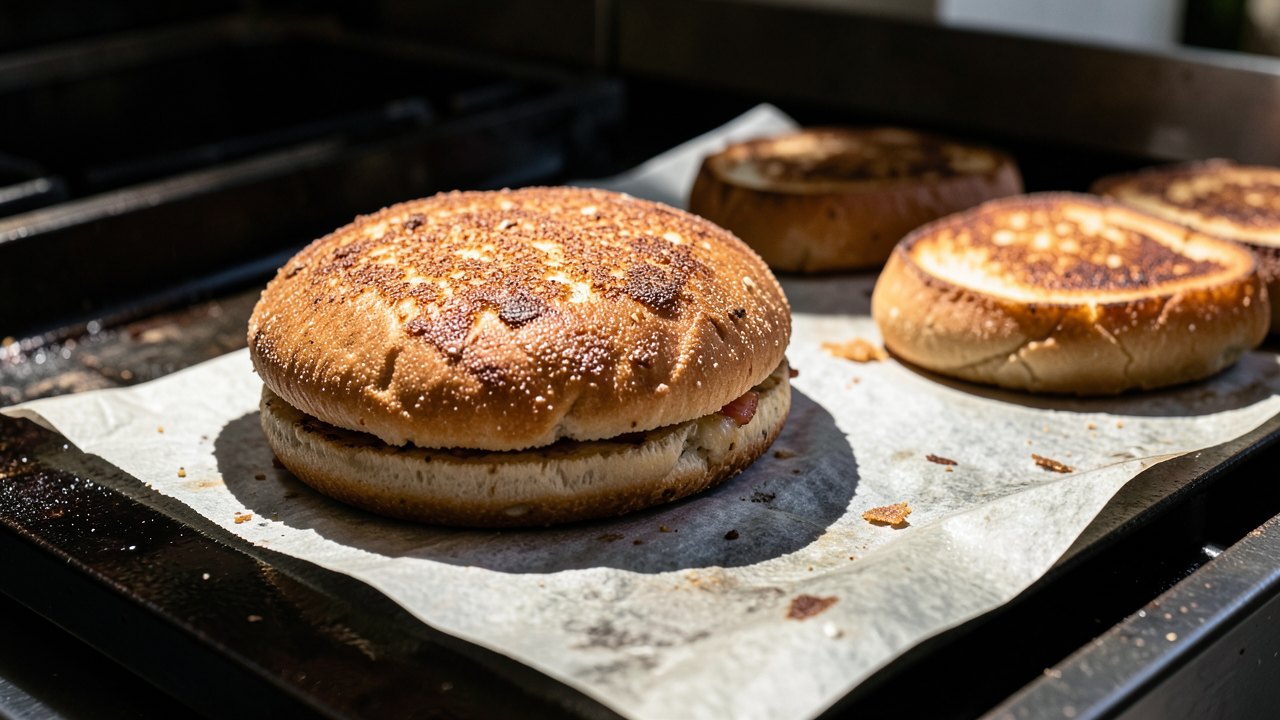
A heavy flat burger press is generally superior to a spatula because spatulas can flex, creating uneven thickness with thin edges and a thick center. If a press isn’t available, you can cross two spatulas in an X. Place a square of parchment paper between the press and the patty to prevent sticking and allow a clean lift. Toasting buns adds texture and waterproofs the bun against sauces and yolk. Methods for toasting differ: some recommend butter on the cut faces, while others prefer toasting in the residual grease from the burgers. For a technique variation, try the Oklahoma Onion Smash. Pile paper-thin sliced onions on the beef ball, smash straight down into the meat, and flip. The onions fry in the beef fat for about 45 seconds, steaming into the patty during the sear and caramelizing on the flip to add sweetness and stretch the beef.
Troubleshooting and Mistakes
If your patties come out grey with no crust, the griddle was likely too cold at the start. Smashing too late can cause the patty to fail to spread thin. Overworking the beef creates a dense texture, and using too much grease can prevent proper browning by creating a barrier. If the patty falls apart on the flip, it was probably smashed too thin or the beef was too lean. Burnt seasoning flavors usually indicate sugar in the rub burning at high heat. Watch the grease carefully; while toasting buns in residual grease is common, using too much oil overall can hinder the sear.